
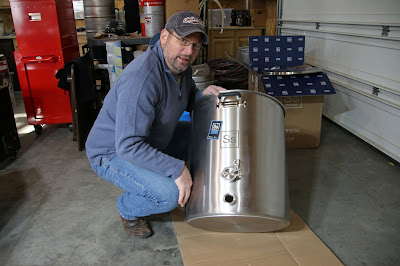
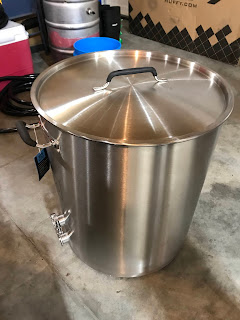
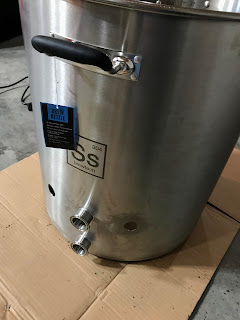
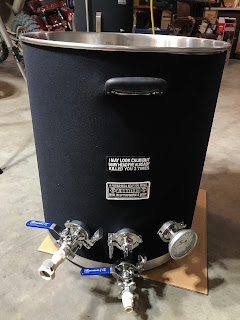
Got the new SS Brewtech 31 gallon brew kettle in and started working on adding the new triclamp fittings I wanted. I didn't get the 20 gallon eBrew, because, well, it cost more, didn't really need the heating element (it probably would work with my system) and was ONLY 20 gallons (they don't offer a 30 gallon one). But I needed to add some TC's for thermometers and the 5500W heating element. I had already done this on my converted kegs a couple months ago, so, shouldn't be too bad...
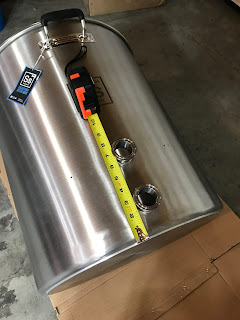
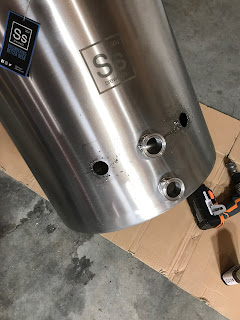
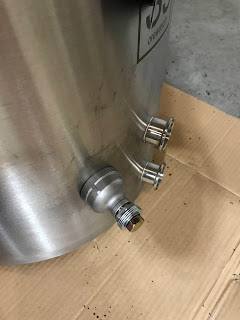
I didn't waste any time and just dove in on measuring and drilling holes with the tungsten carbide bit. This thing cuts through the stainless VERY well and leaves a very nice smooth hole. I wanted two more on the front at the upper level (around 7" above the bottom) for an analog thermometer and digital PT100 pickup. I could have probably just worked out something with a stainless tee on one, but I was going to be in here, and why not add both on front. You can never have too many triclamp fittings!
I knew having the two on the front with the other very nicely welded fitting was going to make it very obvious if they weren't almost exactly at the same height and spaced out to the left/right the same, so I measured twice and marked them. I marked the back on a little off center to the left since that's where the cord comes in from and because the capacity marking etchings were perfectly on the back center line.
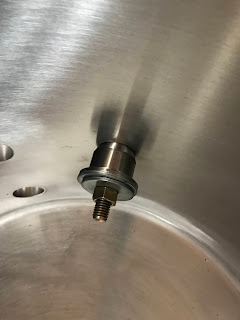
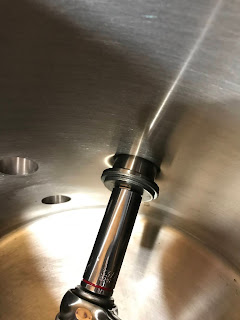
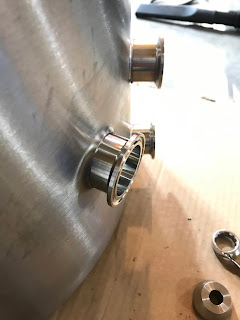
Once drilled, I started pulling in the ferrules backwards (to force a dome OUT) and then pulled them back out and pulled them in from the outside into the now raised dome. This worked very well before and it wasn't much different this time.
Once they were all set, I carefully cleaned all the oil and shavings up with acetone to make sure the silver solder would flow and seal tight. Then I set the kettle up to hang from my 5-ton Bendpak lift. Overkill? Ehh...maybe, but it works great to suspend the kettle from the arms and get them up above your head so you can heat the ferrule and side-wall from below and let a pre-cut ring of solder set inside just eventually melt and flow into the space between the ferrule and the domed wall.
The intermediate look isn't great. You need to make sure it gets flowed well, add a second ring and reflow again, then use some liquid flux dropped in key places to help it reflow nice and flat rather than "bubbled" with a meniscus form and then try to clean off the burnt flux after it cools a little to set up but can still steam off some water on a cleaning rag.
After that, you can get some barkeep's friend on it and start cleaning up all the flux stains and the original machine grime. I will run TSP (trisodium phosphate) through a CIP in it with all the fittings in place tomorrow when the fermenter gets here and then passivate it with the starsan acid. But if you do it right, they end up passing a leak test and can hold pressure and shouldn't have many spaces for nasties to hide. They are better than the 1/2" stainless couplers I had welded into my old kegs.
The final product (after lots of scrubbing with a non-metal pad and the bar-keeps friend) looks very professional and clean. This process has really allowed me to do some things that I've not had the ability to do with my kettles, and I love it. If you get good silver solder, a good drill bit and take your time, it really is solid and will last forever.
A great video showing the process and how to do all this (as well as get some of the parts like drill bit and pull through jig) are at brewhardware.com






No comments:
Post a Comment