
I have been lusting after the idea of putting in some 1.5" ferrules in my HLT and BK to host some 5500W electric ripple heaters (240v of course). Just something I could quick plug in and with a big knife switch breaker box, quickly boost my gas heat options. Nothing fancy...just some raw V*A pure energy for the colder months and big temp steps...
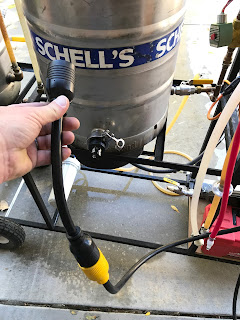
And, after my last brew exposed some problems with the long run on my gas lines from the garage, and being so impressed with how well the bottom drain TC worked, I decided to hit up Chris Stephani and see if he would be willing to help me upgrade my HLT and BK to add electric elements by putting some 1.5" TC's in the sidewalls of the kettles. I had found some great 5500W 240v ripple elements with 1.5" TC fittings and nice L6-30P locking plug ends that should do the trick and be very sleek.
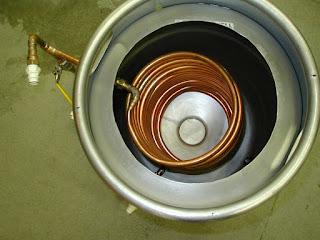
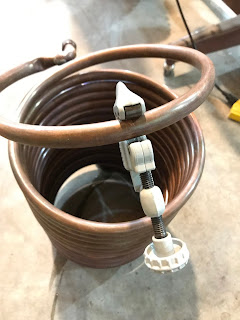
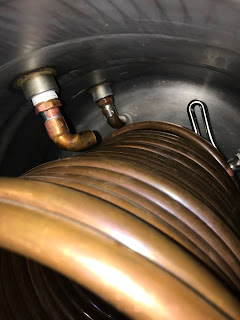
Of course, this required me to remove the coils from inside the HLT, which was even originally a "tight" affair. It was made worse by over 15 years of oxidation and me not bending as well as before. So, after a significant amount of wheezing and puffing and work, I got the coils out and quickly decided they were not going to go back in very easily, and I was likely going to have to rework the fittings. I briefly considered buying new stainless steel coils, but ultimately decided that wasn't the problem and my real issue was not having a better disconnect method inside.
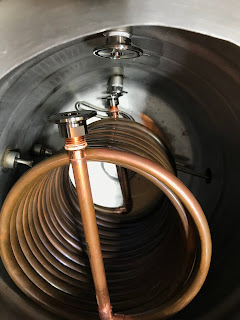
That made me think of how much I was really liking the new 1.5" TC fittings on my fermenter and more recently, my new bottom drain in the MT and how cheap they were on Amazon. I already had 1/2" female NPT fitting welded into my sidewalls from years ago. All I needed was a 1/2" male NPT to 1.5" TC fitting and marry that up to another 1.5" TC to 1/2" female NPT to connect to the copper tubing and then I could make it much easier to put in and pull out (or so I thought). The only real problem is how cumbersome and tight it is to get my big arms/hands down into the kettle while trying to hold up the coils and deftly flip the 1.5" TC clamp around the fittings...all while NOT jarring the silicon gasket out of place...after about 45 minutes and 15 failed attempts and much swearing, I managed to get the bottom one connected and tightened down and then it went fine from there I leak checked it all and pressure tested/cleaned it.
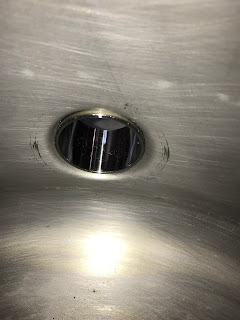
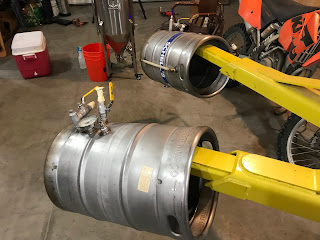
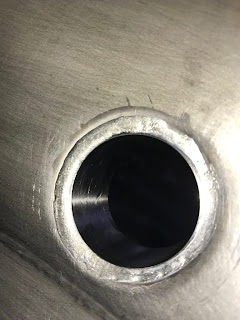
That got us to the point of being able to begin drilling the holes for the 1.5" ferrule to house the electric elements. Chris had a very nice jig, very similar to this one on brewhardware.com, that was comprised of a cone that connected to the end of the ferrule and then pulled it through the smaller 1.4" opening, doming the entry and pulling the ferrule into the dome at the same time. We pulled it through but wanted the dome to be outward, and so, pulled it through backward first (that is, from inside out), then pulled the fitting back out and gently worked it in from the outside. Now all that was left was to lay the solder in a ring and heat it to wick in with the flux. I found the kettles suspended nicely from my 10 ton car lift arms which would allow the solder to flow down into the weld and not catch on fire...grin.
In the end, this left me with some very nice looking solder joints with a good smooth fillet and a strong connection that easily allowed the heating elements to pop in and mount. I also took this opportunity to finally put in a return/recirculation flow connection on the HLT to allow it to mix the heated water better and I added a second high temp pump.








No comments:
Post a Comment